In this tutorial, we will create your own token. The mintable supply version of this standard guarantees no token will ever be created after the initial emission. Fungible tokens are token from which the value of each token is equal to another.
You will need:
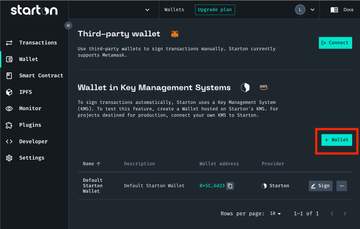
- a wallet address with funds: You can use your default Starton wallet, at creation Starton provides you with faucets.
- definitiveName: The name of your smart contract which will be reflected on-chain.
- definitiveSymbol: The symbol of your smart contract which will be reflected on-chain
- initialSupply: The initial amount of tokens that will be minted.
- initialOwnerOrMultisigContract: The address that will own the ERC20 contract.
In this tutorial, we will:
Deploying the Smart contract from our template
- From Code
- From Webapp
const axios = require("axios")

const axiosInstance = axios.create({
    baseURL: "https://api.starton.com",
    headers: {
        "x-api-key": "PUT HERE YOUR API KEY",
    },
})

axiosInstance
    .post("/v3/smart-contract/from-template", {
        network: "", // The blockchain network on which you want to deploy your smart contract
        signerWallet: "", // The address of the signer wallet
        templateId: "ERC20_MINT_META_TRANSACTION",
        name: "", // The name of the contract on Starton
        description: "", // The description of the contract on Starton
        params: [
            "", // The name of your smart contract which will be reflected on-chain.
            "", //  The symbol of your smart contract which will be reflected on-chain
            "", // The total amount of tokens that will ever be minted.
            "", // The address that will own the ERC20 contract.
        ],
    })
    .then((response) => {
        console.log(response.data)
    })
From Dashboard
-
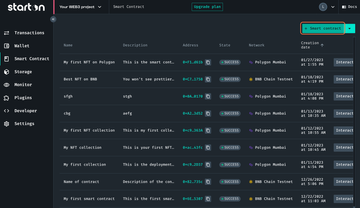
Click on Smart Contract.
-
Click + Smart contract.
-
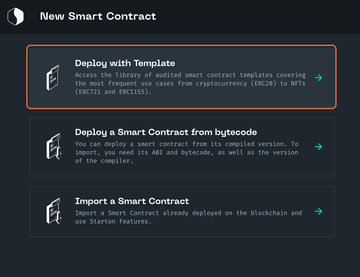
Click Deploy with Template.
-
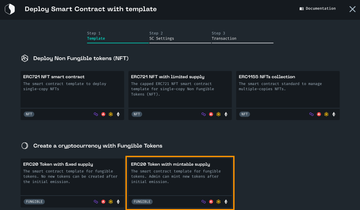
Click Create a cryptocurrency with Fungible Tokens, click ERC20 Token with mintable supply.
-
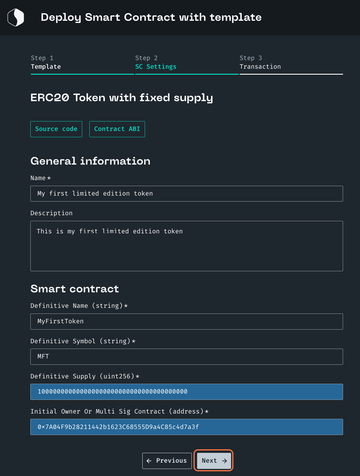
In General information, enter a name and a description for your smart contract. These will appear only on Starton and can be edited after creation.
-
In Smart contract, enter:
-
definitiveName: The name of your smart contract which will be reflected on-chain. For example,"MyFirstToken".
-
definitiveSymbol: The symbol of your smart contract which will be reflected on-chain. For example, "MFT".
-
initialSupply: The initial amount of tokens that will be minted. For example, "100000000000000000000000000000000000000".
-
initialOwnerOrMultisigContract: The address that will own the ERC20 contract. For example, your default Starton wallet.
-
Click on Next.
-
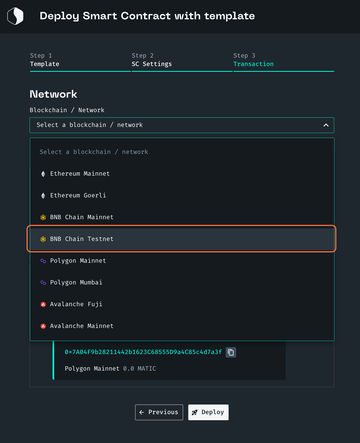
Now select the network on which you want to deploy your contract.
-
Choose the wallet you want to deploy your contract with.
-
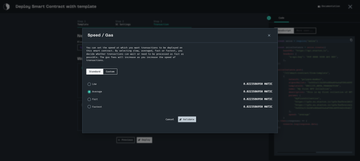
Click Deploy. Here you will define your gas speed. For more, go to gas management.
-
Click Validate to deploy your contract.
Congrats on deploying your smart contract.
Process your first token transfer
- From Code
- From Webapp
You will need the following information:
- Wallet: the signer wallet
- To: the wallet receiving your transfer
- Amount: amount to transfer
const axios = require("axios")

const axiosInstance = axios.create({
    baseURL: "https://api.starton.com",
    headers: {
        "x-api-key": "PUT HERE YOUR API KEY",
    },
})

axiosInstance
    .post("/v3/smart-contract/YOUR_SMART_CONTRACT_NETWORK/YOUR_SMART_CONTRACT_ADDRESS/call", {
        functionName: "transfer(address,uint256)",
        params: [
            "", // Enter the wallet receiving tokens.
            "", //amount of token transferred
        ],
        signerWallet: "", // Enter the wallet from which tokens will be transferred.
        speed: "average",
    })
    .then((response) => {
        console.log(response.data)
    })
From Dashboard
You will need the following information:
- Wallet: the signer wallet
- To: the wallet receiving your transfer
- Amount: amount to transfer
-
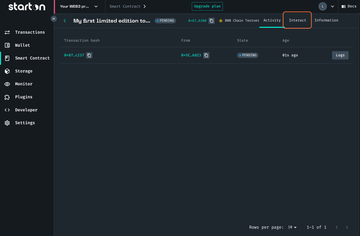
Click Interact.
-
In the function list, select transfer.
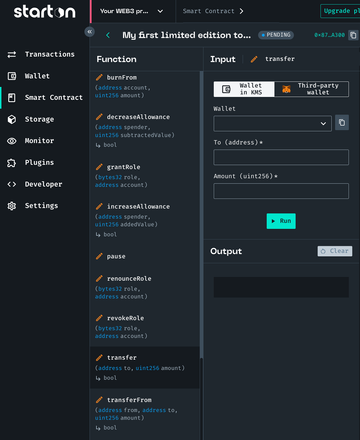
-
Select the signer wallet.
-
Enter the receiving wallet in the field to. And finally, enter an amount to transfer.
-
Click Run.
-
Select your Speed and click Validate.
Congratulations! You've transferred your first token.